
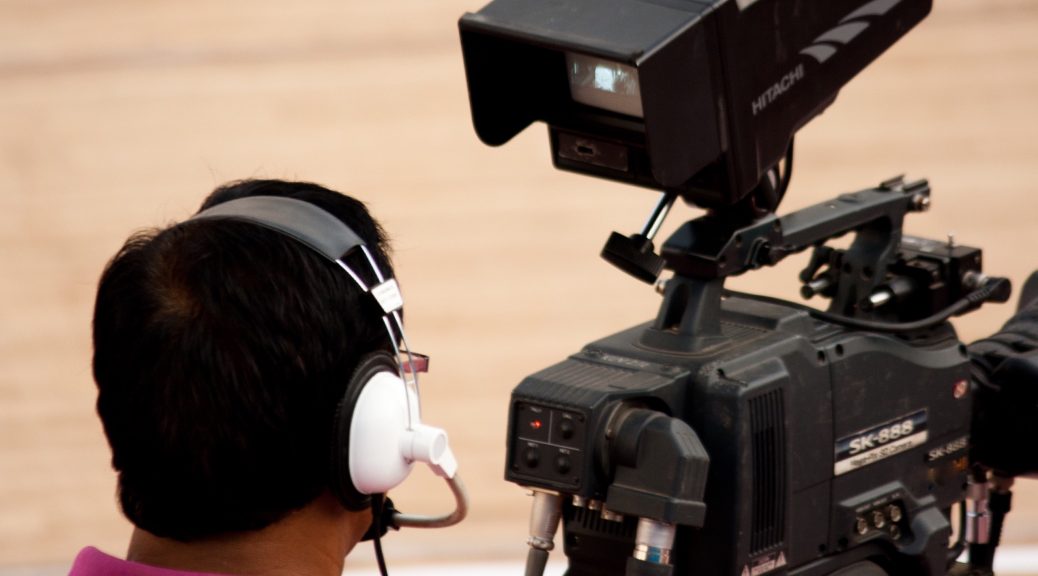
Camera operator is usually the entry level position for volunteers in church media ministry, but it is actually one of the most or perhaps the most important position. As mentioned in an earlier post, the function of a television production is to convey and perhaps enhance the program content delivered to the viewer without calling attention to the process. Out of focus images, jerky camera motion, poorly framed shots, general inattention can quickly distract from what is being conveyed. A few simple tips to new camera operators along with on-the-job experience can go a long way toward encouraging the novice to hone his craft.
The following are some foundational tips that can soon become second nature to a skillful camera operator:
-
- Learn the proper way to focus your camera. The one and only correct technique for adjusting focus is to first zoom the camera in to the closest possible shot of the subject. At this point, carefully adjust the focus, then remove your hand from the focus control. Then zoom back to a properly framed shot. Lens focus is both most critical and easiest to detect when the lens is at the maximum telephoto position. If you attempt to focus a wide or medium shot, and then are asked to do a live zoom in to a closeup, you will most likely find a fuzzy surprise at the end of the zoom. The correct focus setting is a function of the distance between the camera and the subject. As long as the subject does not move closer or farther away, the focus will not need to be adjusted again. Should you encounter a lens that changes focus when it is zoomed, there is a technical adjustment known as back focus that must be performed. This is normally done by an engineer or technician, and the process varies slightly with lenses from different manufacturers.
- Adjust your camera support controls before the event begins. There are usually two controls for each axis of camera motion: pan (side to side movement) and tilt (up and down movement). These two controls are normally labeled lock and drag (or friction, tension, or perhaps fluid). The locks are usually levers and are used to completely immobilize the camera movement. These should be applied before you leave the camera operating position and unlocked immediately upon arrival at your position. Trying to move the camera when the locks are applied will certainly result in uneven, jerky movement, and could actually damage the expensive head. Once the locks are released, adjust the drag or friction controls (usually knobs or dials) to your personal taste to permit smooth camera movement. Try different settings and see how it affects your ability to pan and tilt the camera, paying particular attention to the moments of starting and stopping the motion.
- Use your whole body, not just your arms to follow movement with the camera. The heavier an object is, the smoother it moves, particularly starting and stopping. The original color TV cameras from the 50s and 60s weighed in at 250 to 400 pounds. With all of that mass, smooth starts and stops were almost guaranteed. Today’s cameras may weigh as little as three to five pounds and almost guarantee jerky motion. While setting your pan and tilt drag controls is important, another technique can add much to the virtual mass of your camera system. Instead of standing behind the camera and moving it to the left or right using only your arms, try locking your arms in rigid position and following action by rocking your entire body to the left and right. By doing this, your have essentially added your entire body weight to the weight of the camera and greatly smoothed out your camera motion.
- Pay close attention to where your subject is positioned in the frame. If a person is looking directly into the camera or in its general direction, having them centered in the frame is OK. Should they turn and look toward your left, pan the camera slightly to the left so that there is more space in front of their face than behind their head. This is sometimes referred to as “look space”. If their face is too close to the edge of the frame, the audience subconsciously wonders what they are looking at, and the extra space behind their head makes them subconsciously think that something or someone is going to enter that space. Of course the same principle applies when they look in the other direction. The proper amount of space between the top of the subjects head and the top of the frame is important. Tops of heads are usually only cut off during super close-up such as used in “60 minutes” type interview shows. Too much space above the top of the head just looks unnatural. Eventually you will develop a natural sense of the proper amount of “headroom”.
- Try to “lead” subjects when in motion. The “look space” concept also applies as you are following a subject in motion. They are almost always looking in the direction they are traveling, so keeping adequate look space involves being slightly ahead of their forward motion. This can be tricky since it’s easy to overshoot if they stop suddenly. A highly animated subject that starts and stops suddenly can present a real challenge, so it’s best to maintain a slightly looser shot, at least until you get used to their patterns of movement.
- Start zooms early and have a specific landing point in mind before you begin. if called upon to perform a live zoom, try to anticipate by starting the zoom a moment before your camera is “taken”. Starting a zoom from a static shot while your camera is live is usually distracting, and they are very tricky to launch at the appropriate speed. It is less distracting to “land” or stop a zoom while your camera is live, but some directors prefer to avoid that as well. If a zoom involves a pan and/or tilt as well to get to its destination, make certain that all of these moves are done simultaneously. The goal is one smooth continuous move from start to destination.
If you are in a multi-camera environment, listen to and follow the instructions of the director. Some directors, if the production is relatively slow-paced, will explain why they are calling for specific shots. This coaching can be very instructional, particularly if the director is experienced and the camera operator is relatively new. The director is responsible not only for your individual shot, but how it will interact in transition to the next one from another camera. Once a camera operator is more experienced, a director will often tell the camera operator to hunt for good shots on their own. In a fast moving production they won’t often have time to individually direct three or more cameras, so these situations will allow you to express your creativity.
Thanks for reading through these tips. I welcome your comments on items I may have missed and also to suggest topics for future posts.